Interlocking tiles offer a versatile and practical solution for flooring in homes. Renowned for their ease of installation and wide range of styles, they can transform any room without the need for professional help. Whether you’re renovating your kitchen, bathroom, or living area, follow these straightforward steps to install and style interlocking tiles efficiently and effectively.
Selecting Your Tiles
Consider the Material
Interlocking tiles come in various materials, including rubber, foam, vinyl, and carpet. Choose a material that suits the function and style of the room. For instance, foam tiles are great for playrooms due to their softness and safety features, while vinyl tiles provide a more robust option suitable for kitchens and bathrooms due to their water resistance and durability.
Style and Design
With a myriad of designs available, select tiles that complement your home’s décor. From wood and stone effects to vibrant colours and patterns, you can find interlocking tiles that mimic more expensive flooring choices without the hefty price tag.
Preparing the Floor
Before installing your new tiles, ensure the subfloor is clean, dry, and level. Remove any debris, dust, or existing flooring, and repair major cracks or uneven areas. This preparation is crucial for a smooth installation and will help prevent issues later.
Installation Process
Layout Strategy
Begin by laying out your tiles from the centre of the room to ensure symmetrical patterns and cuts along the edges of the room. Dry fit the tiles by laying them down without securing them in place, adjusting as necessary until you’re satisfied with the layout.
Cutting Tiles
In many cases, you’ll need to cut tiles to fit around corners or under door frames. Measure and mark the tiles that need trimming, and use a sharp utility knife to make precise cuts. For tiles like foam or rubber, simple household scissors might be enough to get a clean cut.
Locking Tiles Together
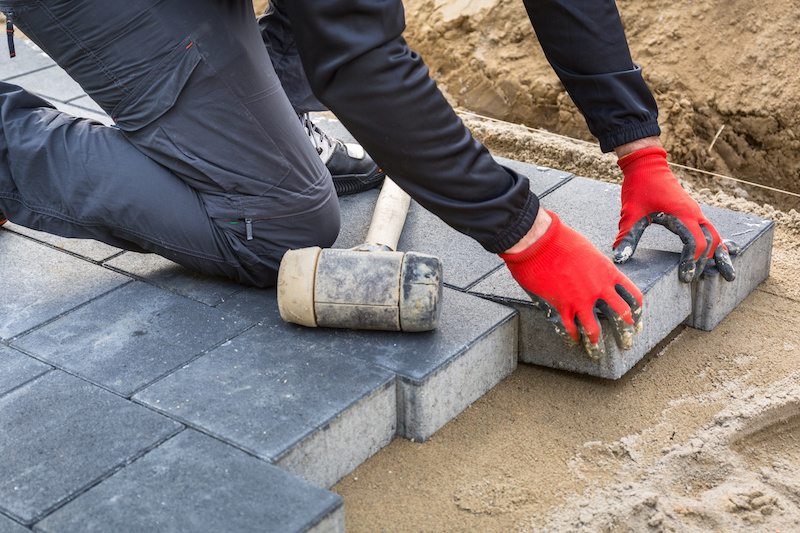
Start from the middle of the room and begin locking the tiles together. Press down on the seams, or use a rubber mallet to gently tap the tiles into place, ensuring a tight fit. Work systematically outward to maintain a consistent pattern.
Styling Tips
Accent Borders
Create a unique look by using different coloured tiles to form a border around the room’s perimeter or under doorways. This not only adds a stylistic touch but also helps to define different areas within open-plan spaces.
Area Rugs and Furniture
Complement your interlocking tiles with area rugs that can add warmth and texture to the room. Consider the placement of furniture and ensure that there is a balance in the room that doesn’t hide the beautiful pattern of your new flooring.
Maintenance
Interlocking tiles are relatively easy to maintain. Regular sweeping and occasional mopping with a mild detergent will keep them looking new. If a tile becomes damaged, one of the advantages of interlocking tiles is that you can easily replace a single tile without having to redo the entire floor.
Interlocking tiles are an excellent choice for anyone looking to update their home’s flooring without excessive cost or complex installation procedures. With careful planning and creative styling, you can achieve a stunning transformation that combines beauty with practicality. Whether you’re updating a single room or renovating the entire floor, interlocking tiles provide a flexible and attractive flooring solution that will meet the demands of any busy home.


